Ledger.com/Start – Complete Setup Guide
Welcome to the official Ledger.com/start setup guide. This comprehensive walkthrough helps new and existing Ledger users set up their hardware wallet securely. Whether you're using a Ledger Nano S Plus or Ledger Nano X, this guide ensures your onboarding is safe, efficient, and beginner‑friendly. Ledger devices keep your private keys offline, offering maximum protection through a certified secure element. This guide focuses on clarity, security, and accuracy to help you manage your digital assets confidently.
1. Begin Your Ledger Device Setup
Start by unboxing your Ledger device and verifying its authenticity. Connect it using the USB cable provided. The device will display a welcome message and prompt you to choose between creating a new wallet or restoring from an existing recovery phrase. Follow only the instructions shown on your Ledger screen to avoid phishing attempts.
2. Visit Ledger.com/Start
Open any web browser and go to Ledger.com/start. This is the official portal where you can download Ledger Live, the all‑in‑one app for managing crypto, installing apps, and monitoring your portfolio. Before downloading, always verify the website URL to ensure you're on the legitimate Ledger domain.
3. Install & Launch Ledger Live
Select the correct Ledger Live version for your operating system—Windows, macOS, or Linux. After installation, launch the application and select "Initialize new device" if setting up your device for the first time. Ledger Live will walk you through essential firmware updates and help you create a secure PIN.
4. Secure Your 24‑Word Recovery Phrase
Your Ledger device will generate a unique 24‑word recovery phrase. This phrase is the master key to all your crypto accounts. Write it down on the recovery sheet provided and keep it in a safe, offline location. Never store it digitally, never share it, and never enter it on any website. Ledger will never ask for your recovery phrase.
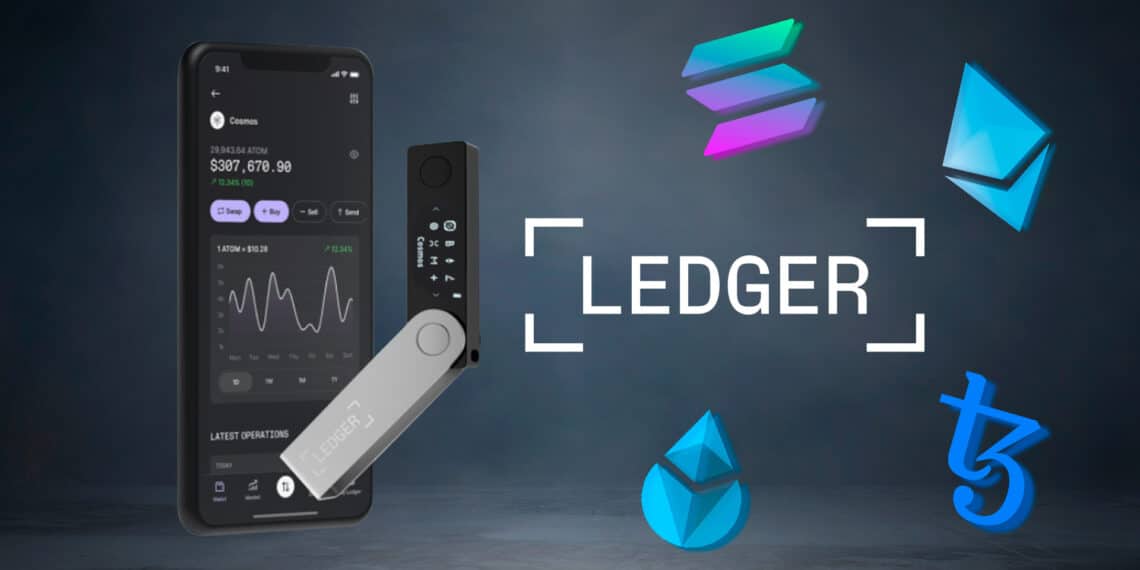
5. Install Crypto Apps in Ledger Live
After completing the basic setup, use Ledger Live to install apps for the cryptocurrencies you want to manage. Each crypto requires a dedicated app installed on your Ledger device. Once installed, you can add accounts inside Ledger Live, enabling you to view balances and track activity.
6. Receive Your First Crypto Assets
To receive crypto, select your account in Ledger Live and generate a receiving address. Always confirm the address displayed on your Ledger device screen to avoid malware manipulation. After verifying, you can safely transfer funds from exchanges or other wallets.
7. Explore Additional Features
Ledger Live includes powerful features like staking, swapping, buying crypto, and connecting to decentralized apps using the Ledger Extension. While interacting with Web3, your private keys remain offline, giving you strong protection even in complex digital environments.